Brooder, but make it simple.
OMG WE KNOW. A tangible project, and not a bullshit, unhelpful project about fixing yourself!
Items Needed:
Large dog kennel
Hardware Cloth
Zip Ties
Measuring tape (optional)
Wire Snips
Puppy Pads/Bedding
Heat Source (we recommend a brooder plate for safety!)
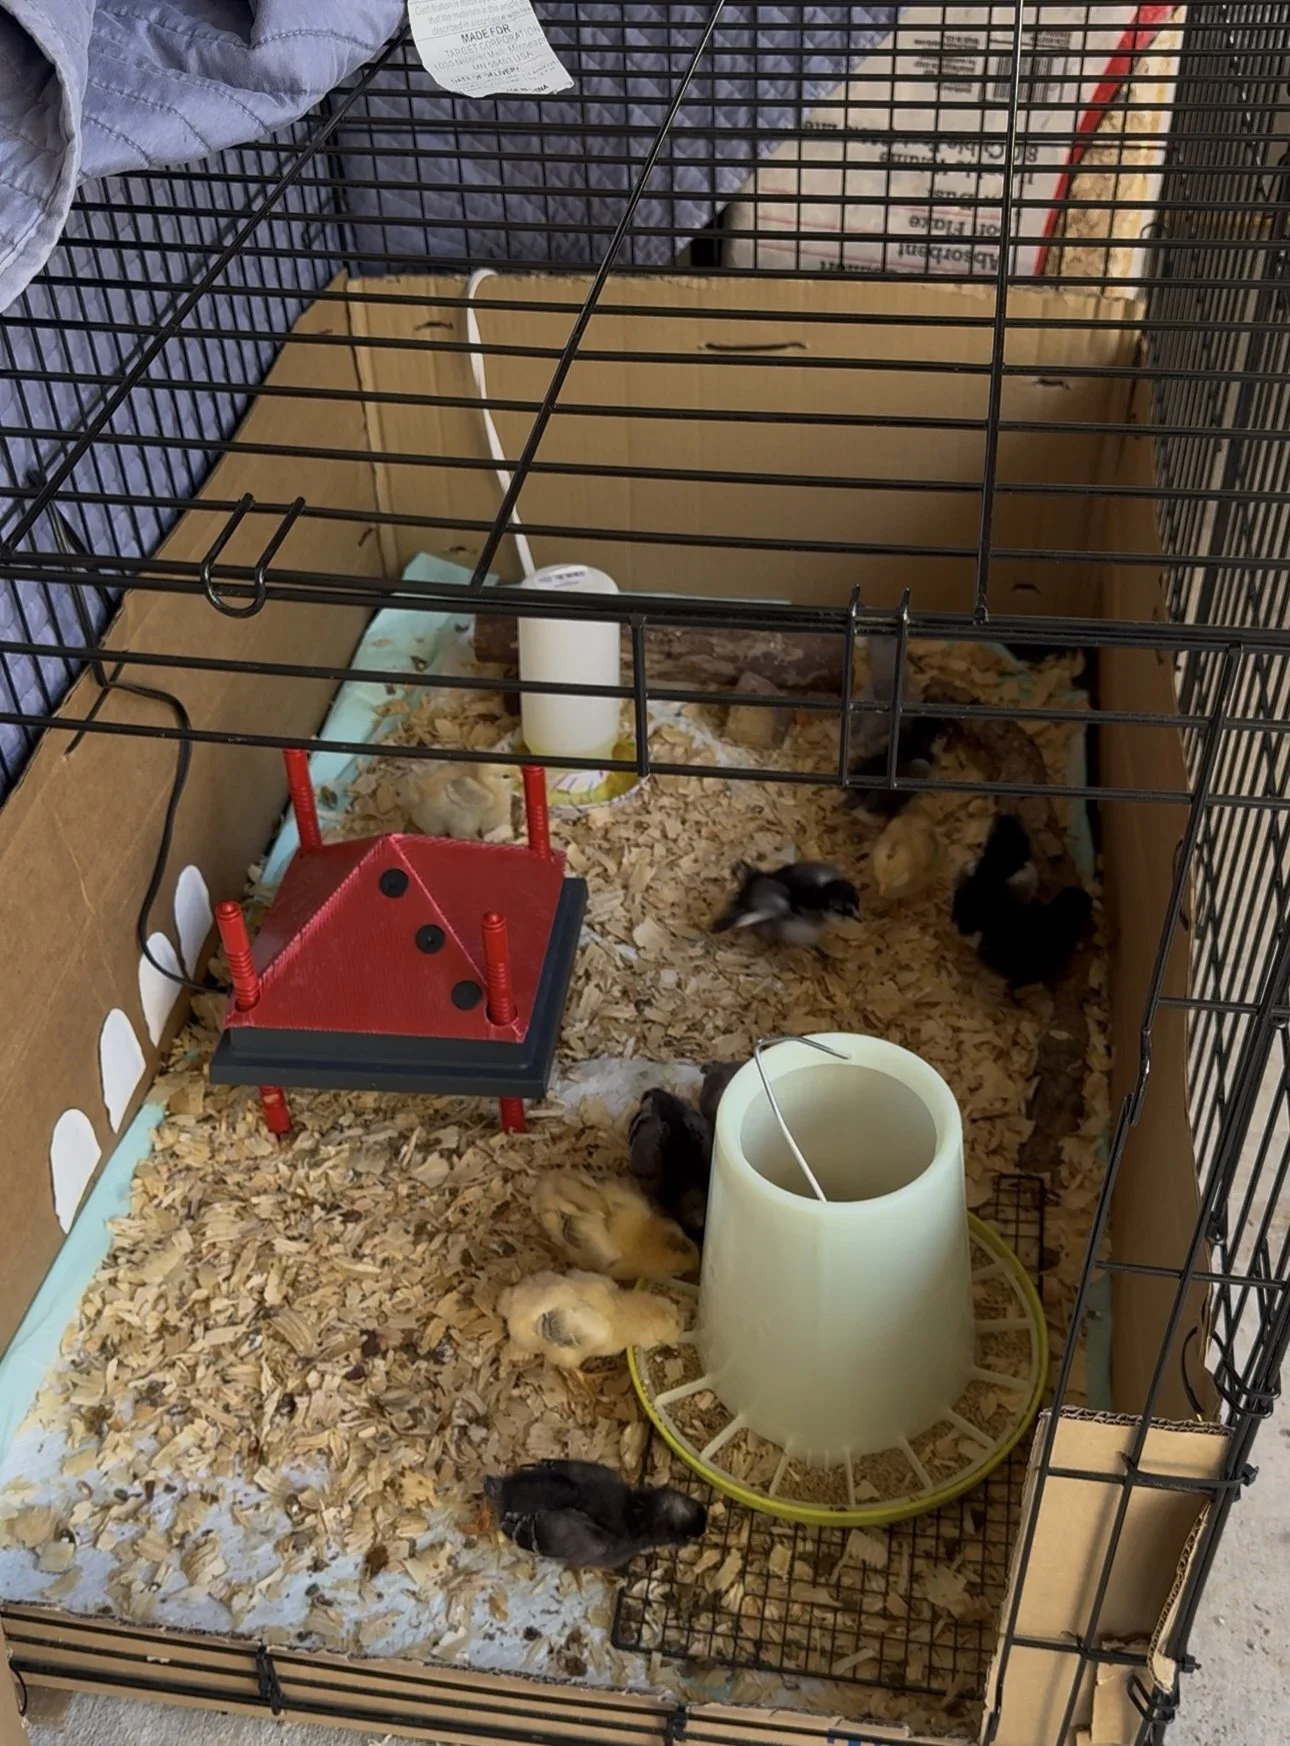
Water source (we used this one later, but got a 1 quart gravity feeder to start—they made it a giant mess)
Feeder
Dust bath
Enrichment
**The links above are not amazon affiliate links because amazon took our affiliate status due to being too slow to post content, but they may be affiliate links someday so here’s your disclaimer. Feel free to purchase these items from wherever is cheapest/easiest for you.
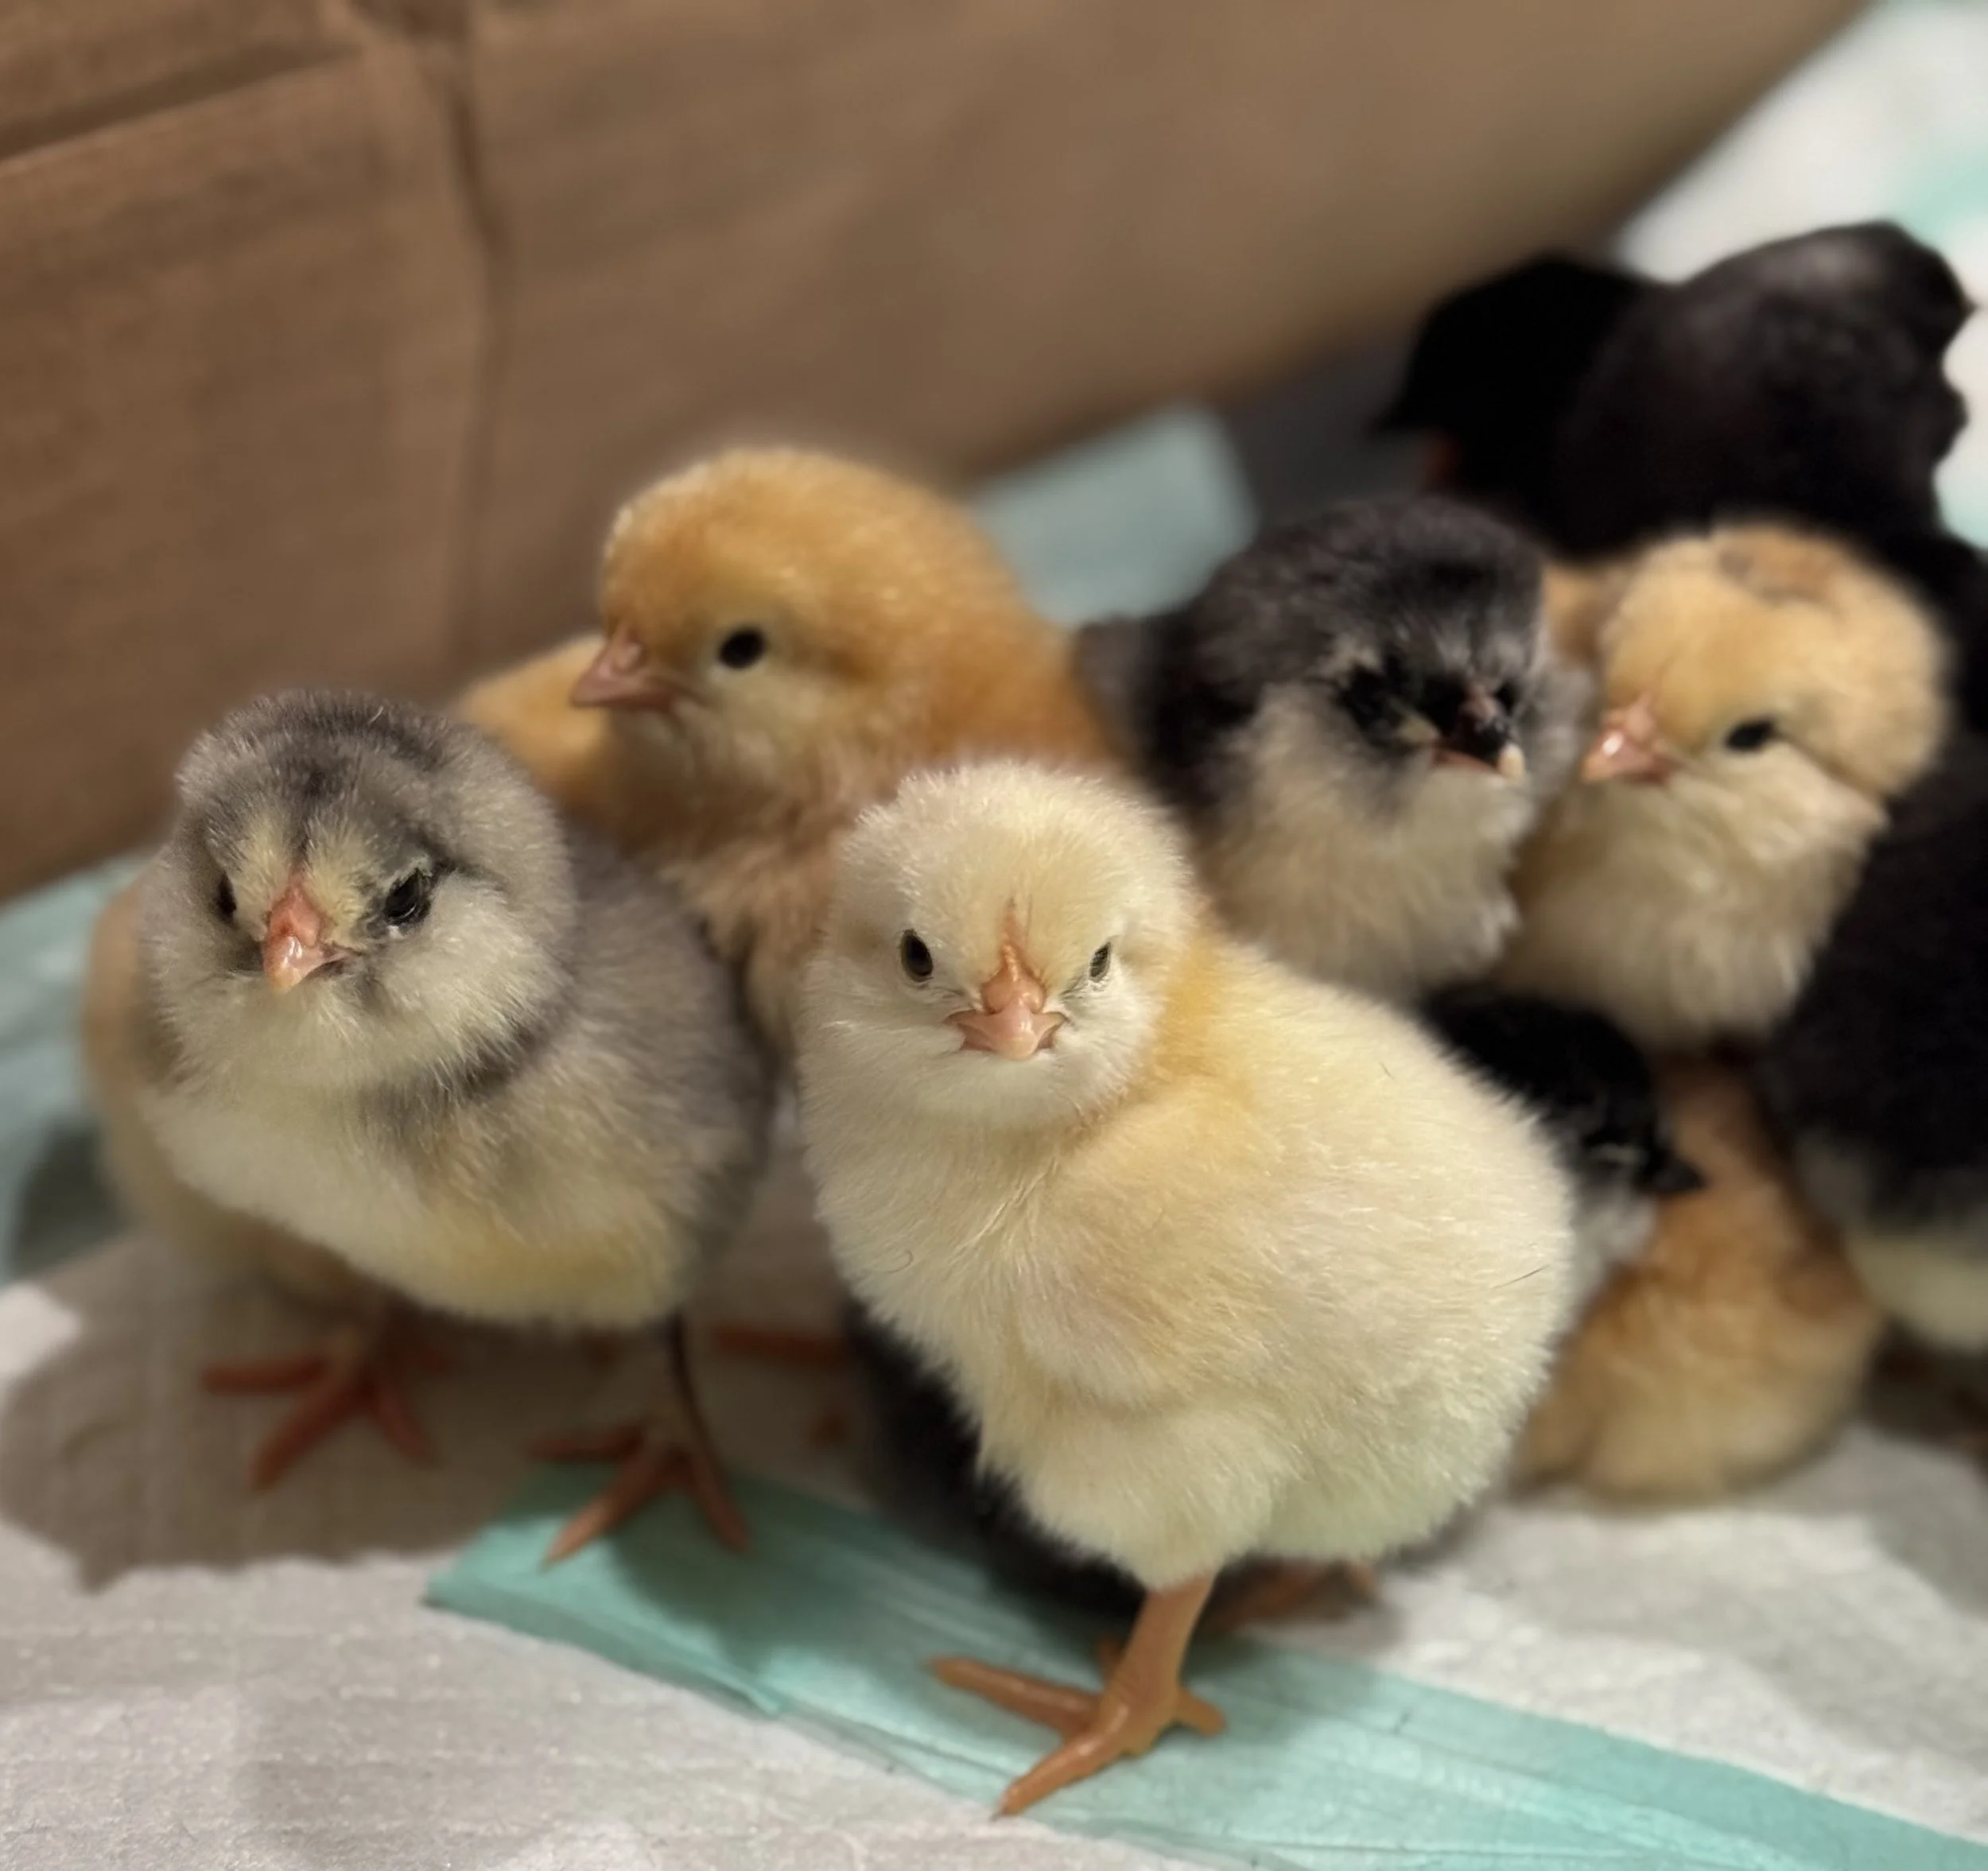
You’re going to see pictures/videos/suggestions of people brooding chicks in their house because it’s warm and cozy. DO NOT DO IT. These little fluff balls produce more dust than you can fathom. Trust us on this one. Any mess you see in the pictures will be in your house.
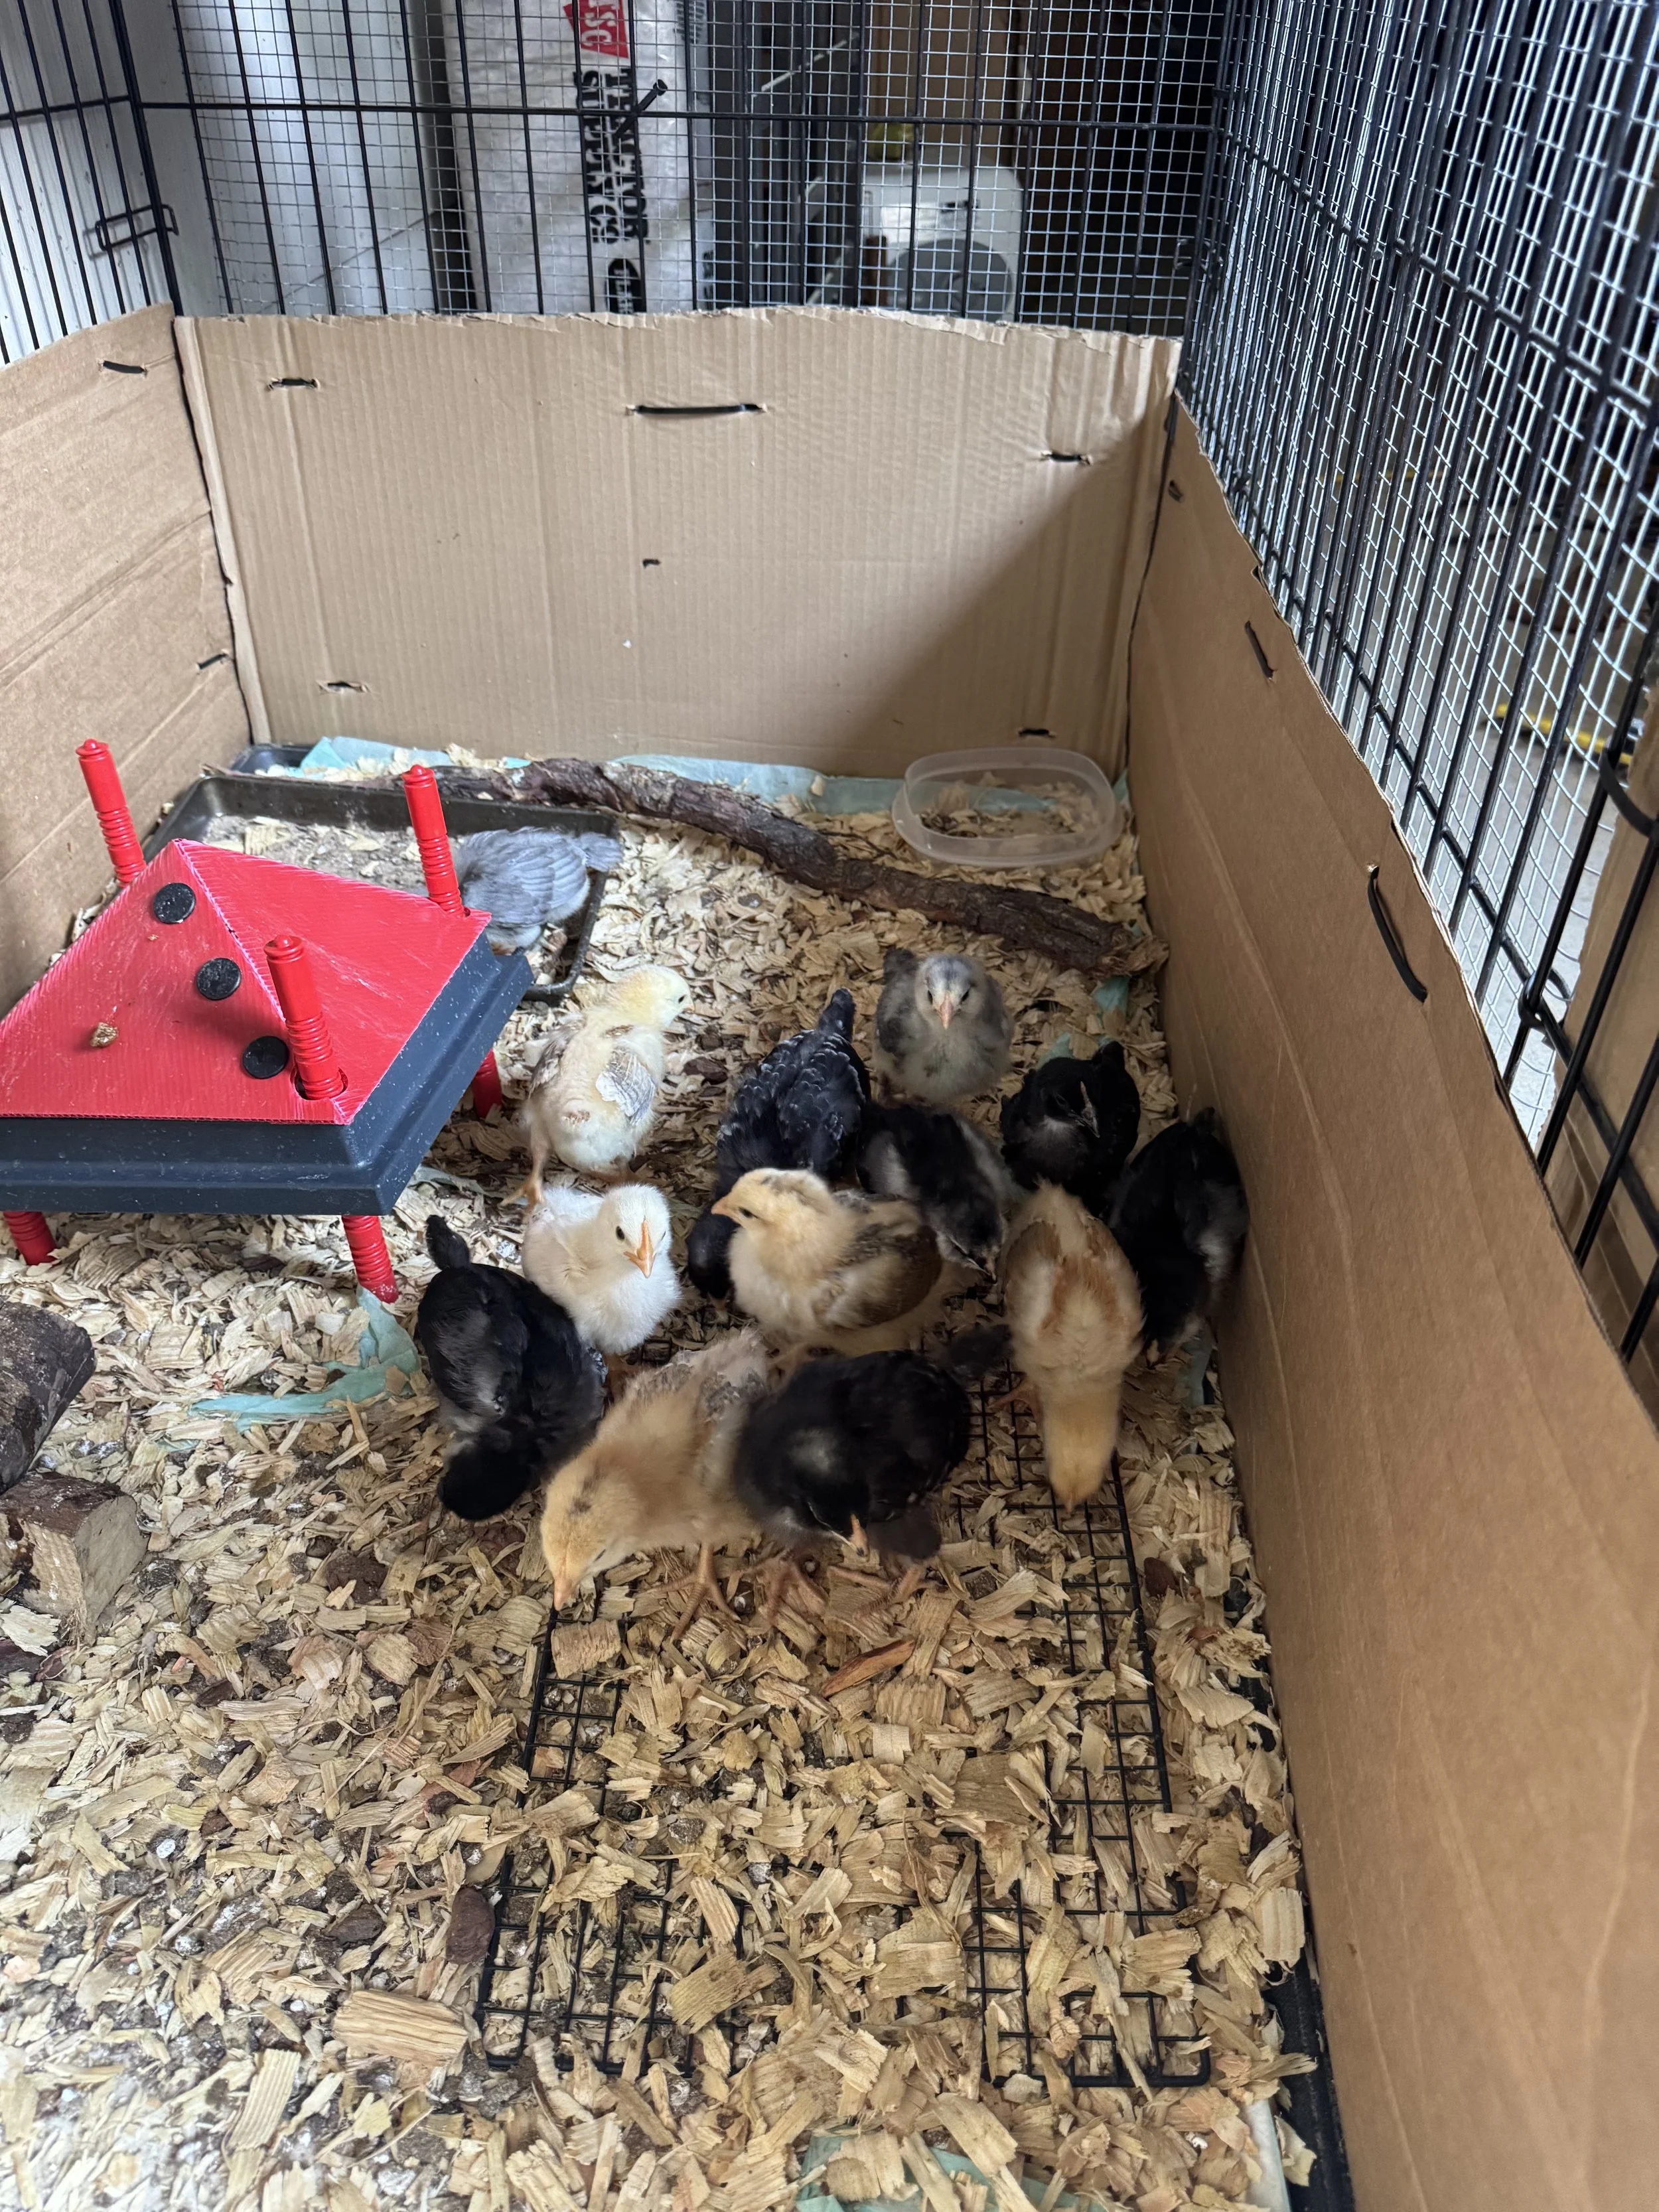
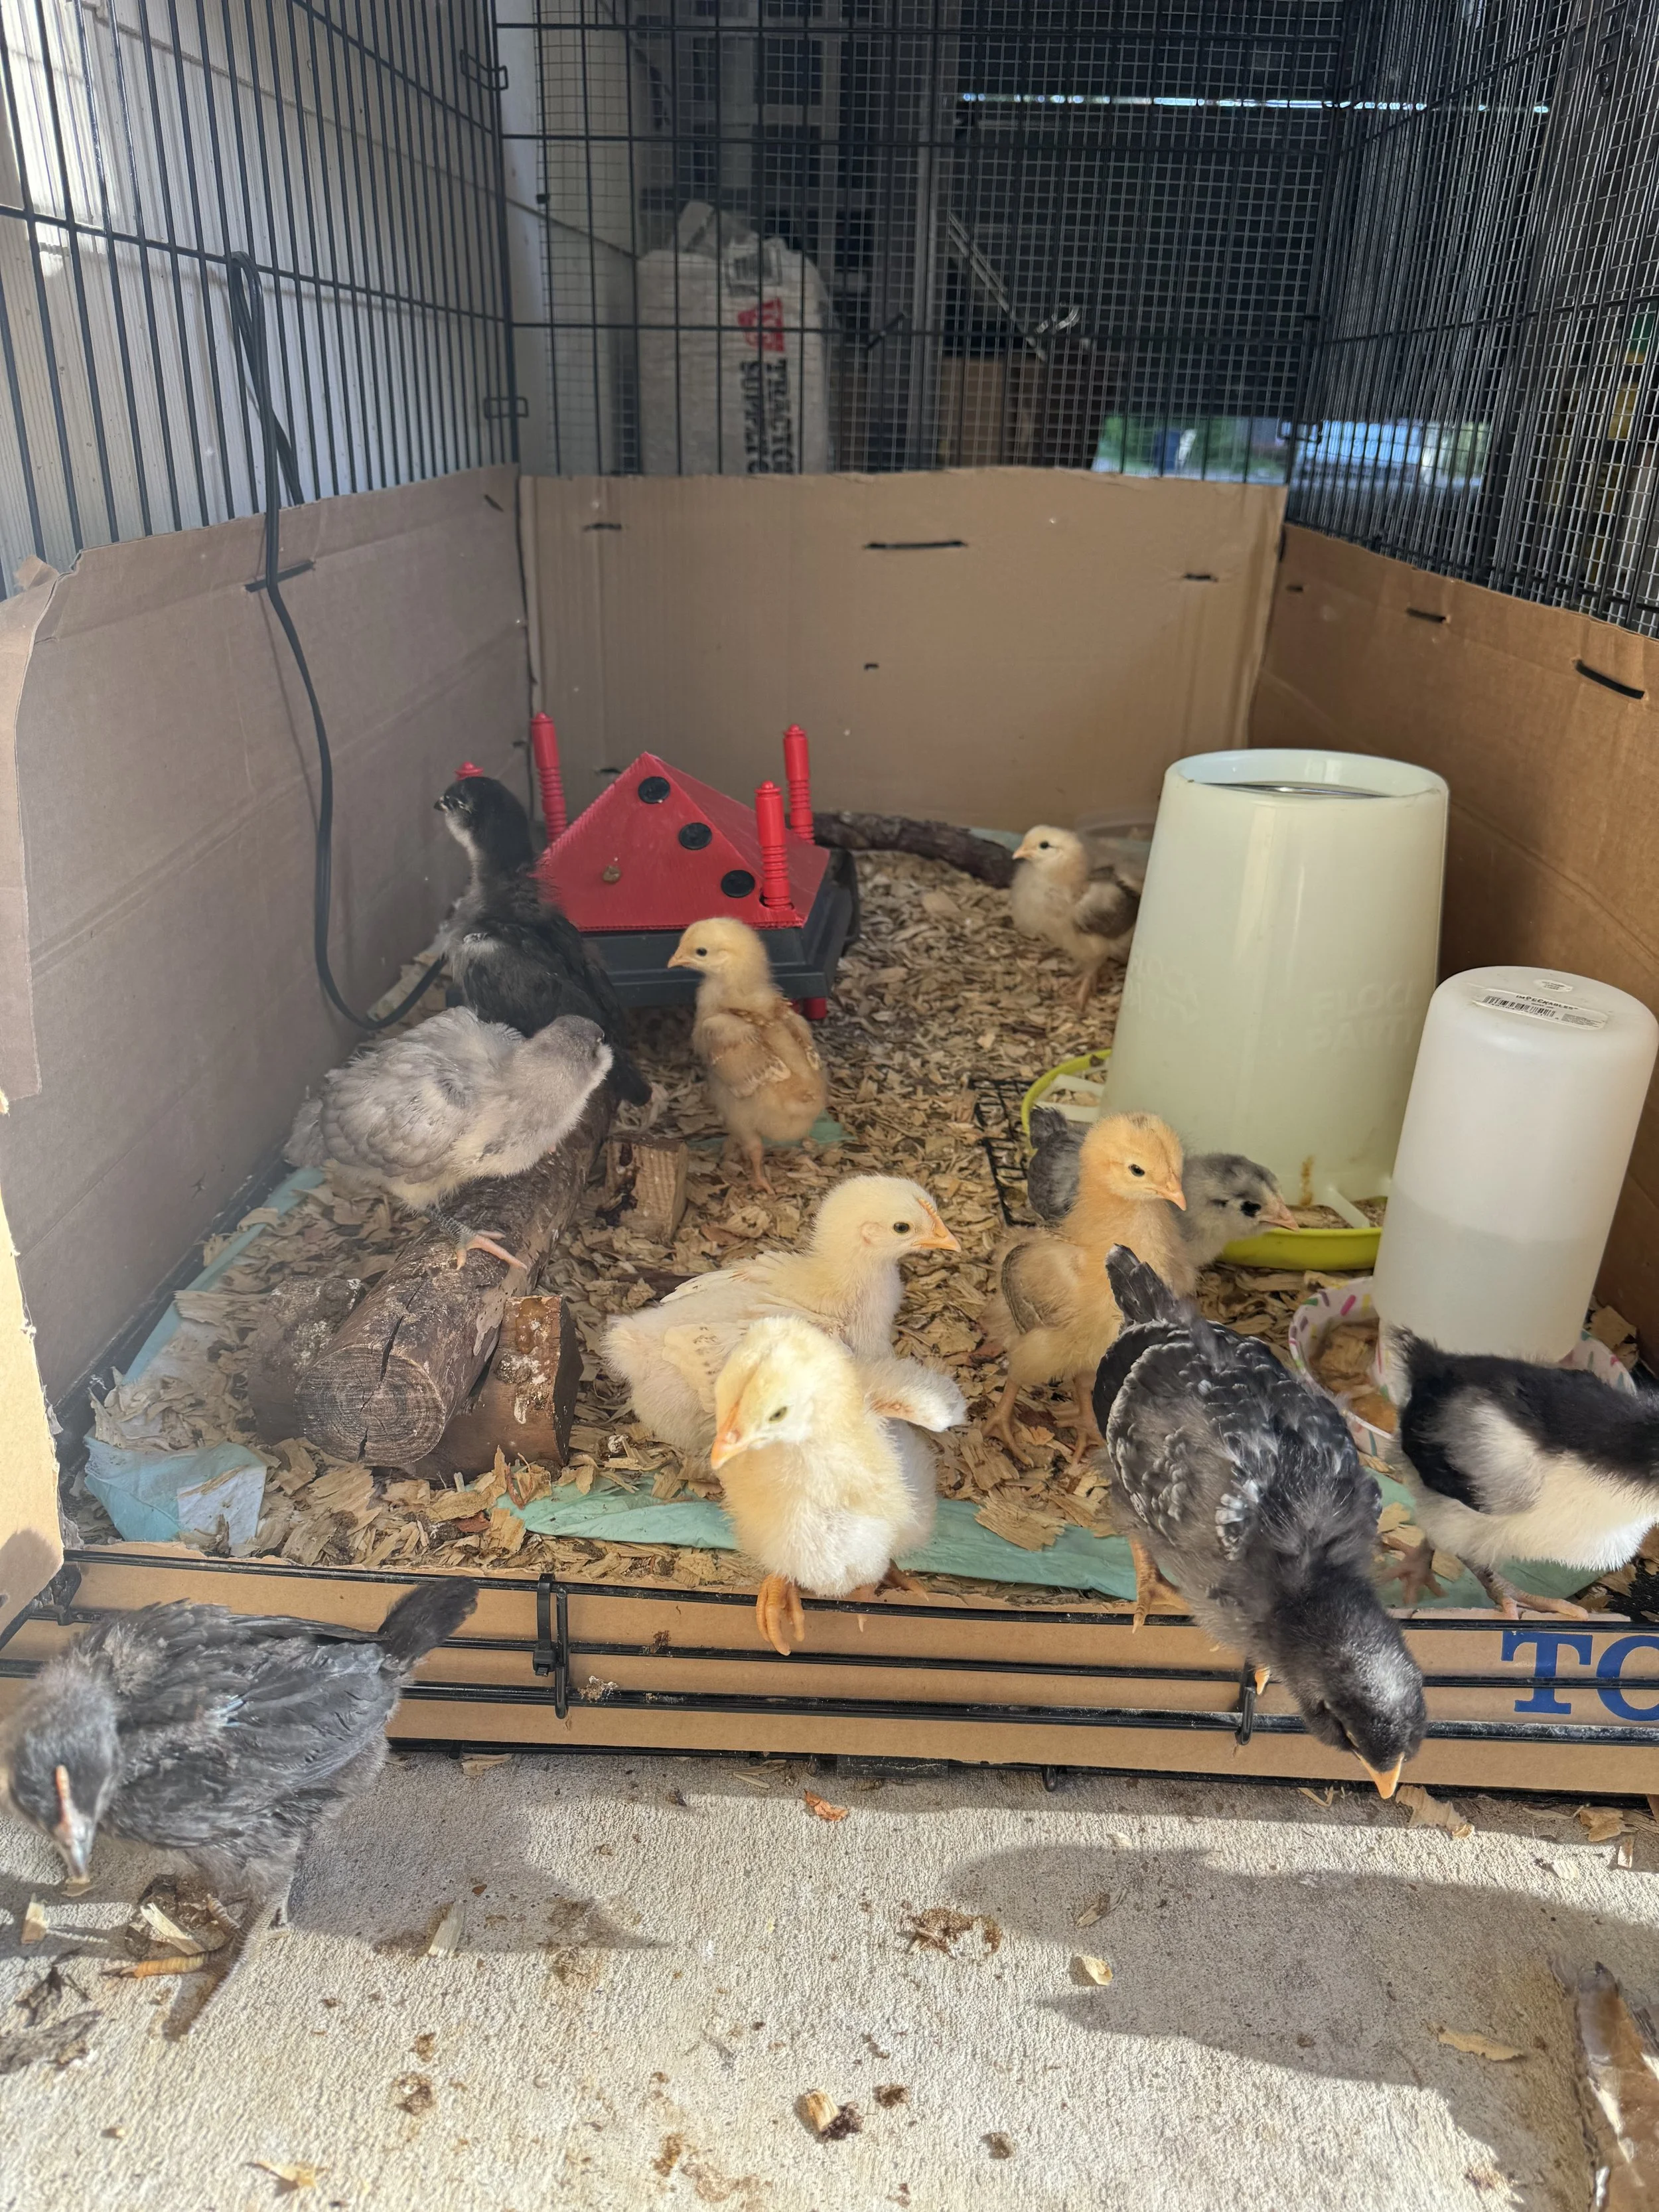
This setup could not have been easier to throw together and has served as a great quarantine spot for hens that need to be separated from the flock. It’s safe, easy to clean, and easy to move around. You’ll see in our pictures some cardboard around some parts of the brooder—we thought that was enough to keep the chicks in. We were very, very wrong. We left the cardboard, however, because it did provide some blockage from wind and rain. Just something to take into consideration.
Also, please note that we didn’t go into this chicken business thinking we’d start a website, so we didn’t take beautiful blogger step-by-step pictures of building this thing. You’re gonna have to think for yourself just a bit, but we’ll do our best to explain the steps (and feel free to email us and ask questions!).
Process
Set up kennel.
Measure and cut hardware cloth to size for all exposed sides, including the roof. You can cheater-method measure this if you have ADHD/Type-B personality traits and just roll out the wire and eyeball it. For those of you with autism/Type-A personality traits, this is where you’ll need to grab your tape measure. Use your snips to trim to size. We didn't have hardware cloth on all sides originally and learned so fast that once they can use their wings, they will escape. Learn from our mistake.
Zip-tie the hardware cloth to the outside of the kennel, being sure to secure it with an excessive amount of ties. You’ll use your snips to cut the tails off the zip ties, so go get those back out of your toolbox if you put them up. Snip the hardware cloth around whichever door will be easier to access so it can open and close. If you didn’t realize you needed to leave the spot where the tray slides out for cleaning uncovered, trim your hardware cloth to be sure the tray slides in and out easily.
Choose where your brooder plate plug will need to run into and trim that square of hardware cloth just big enough to fit the plug through.
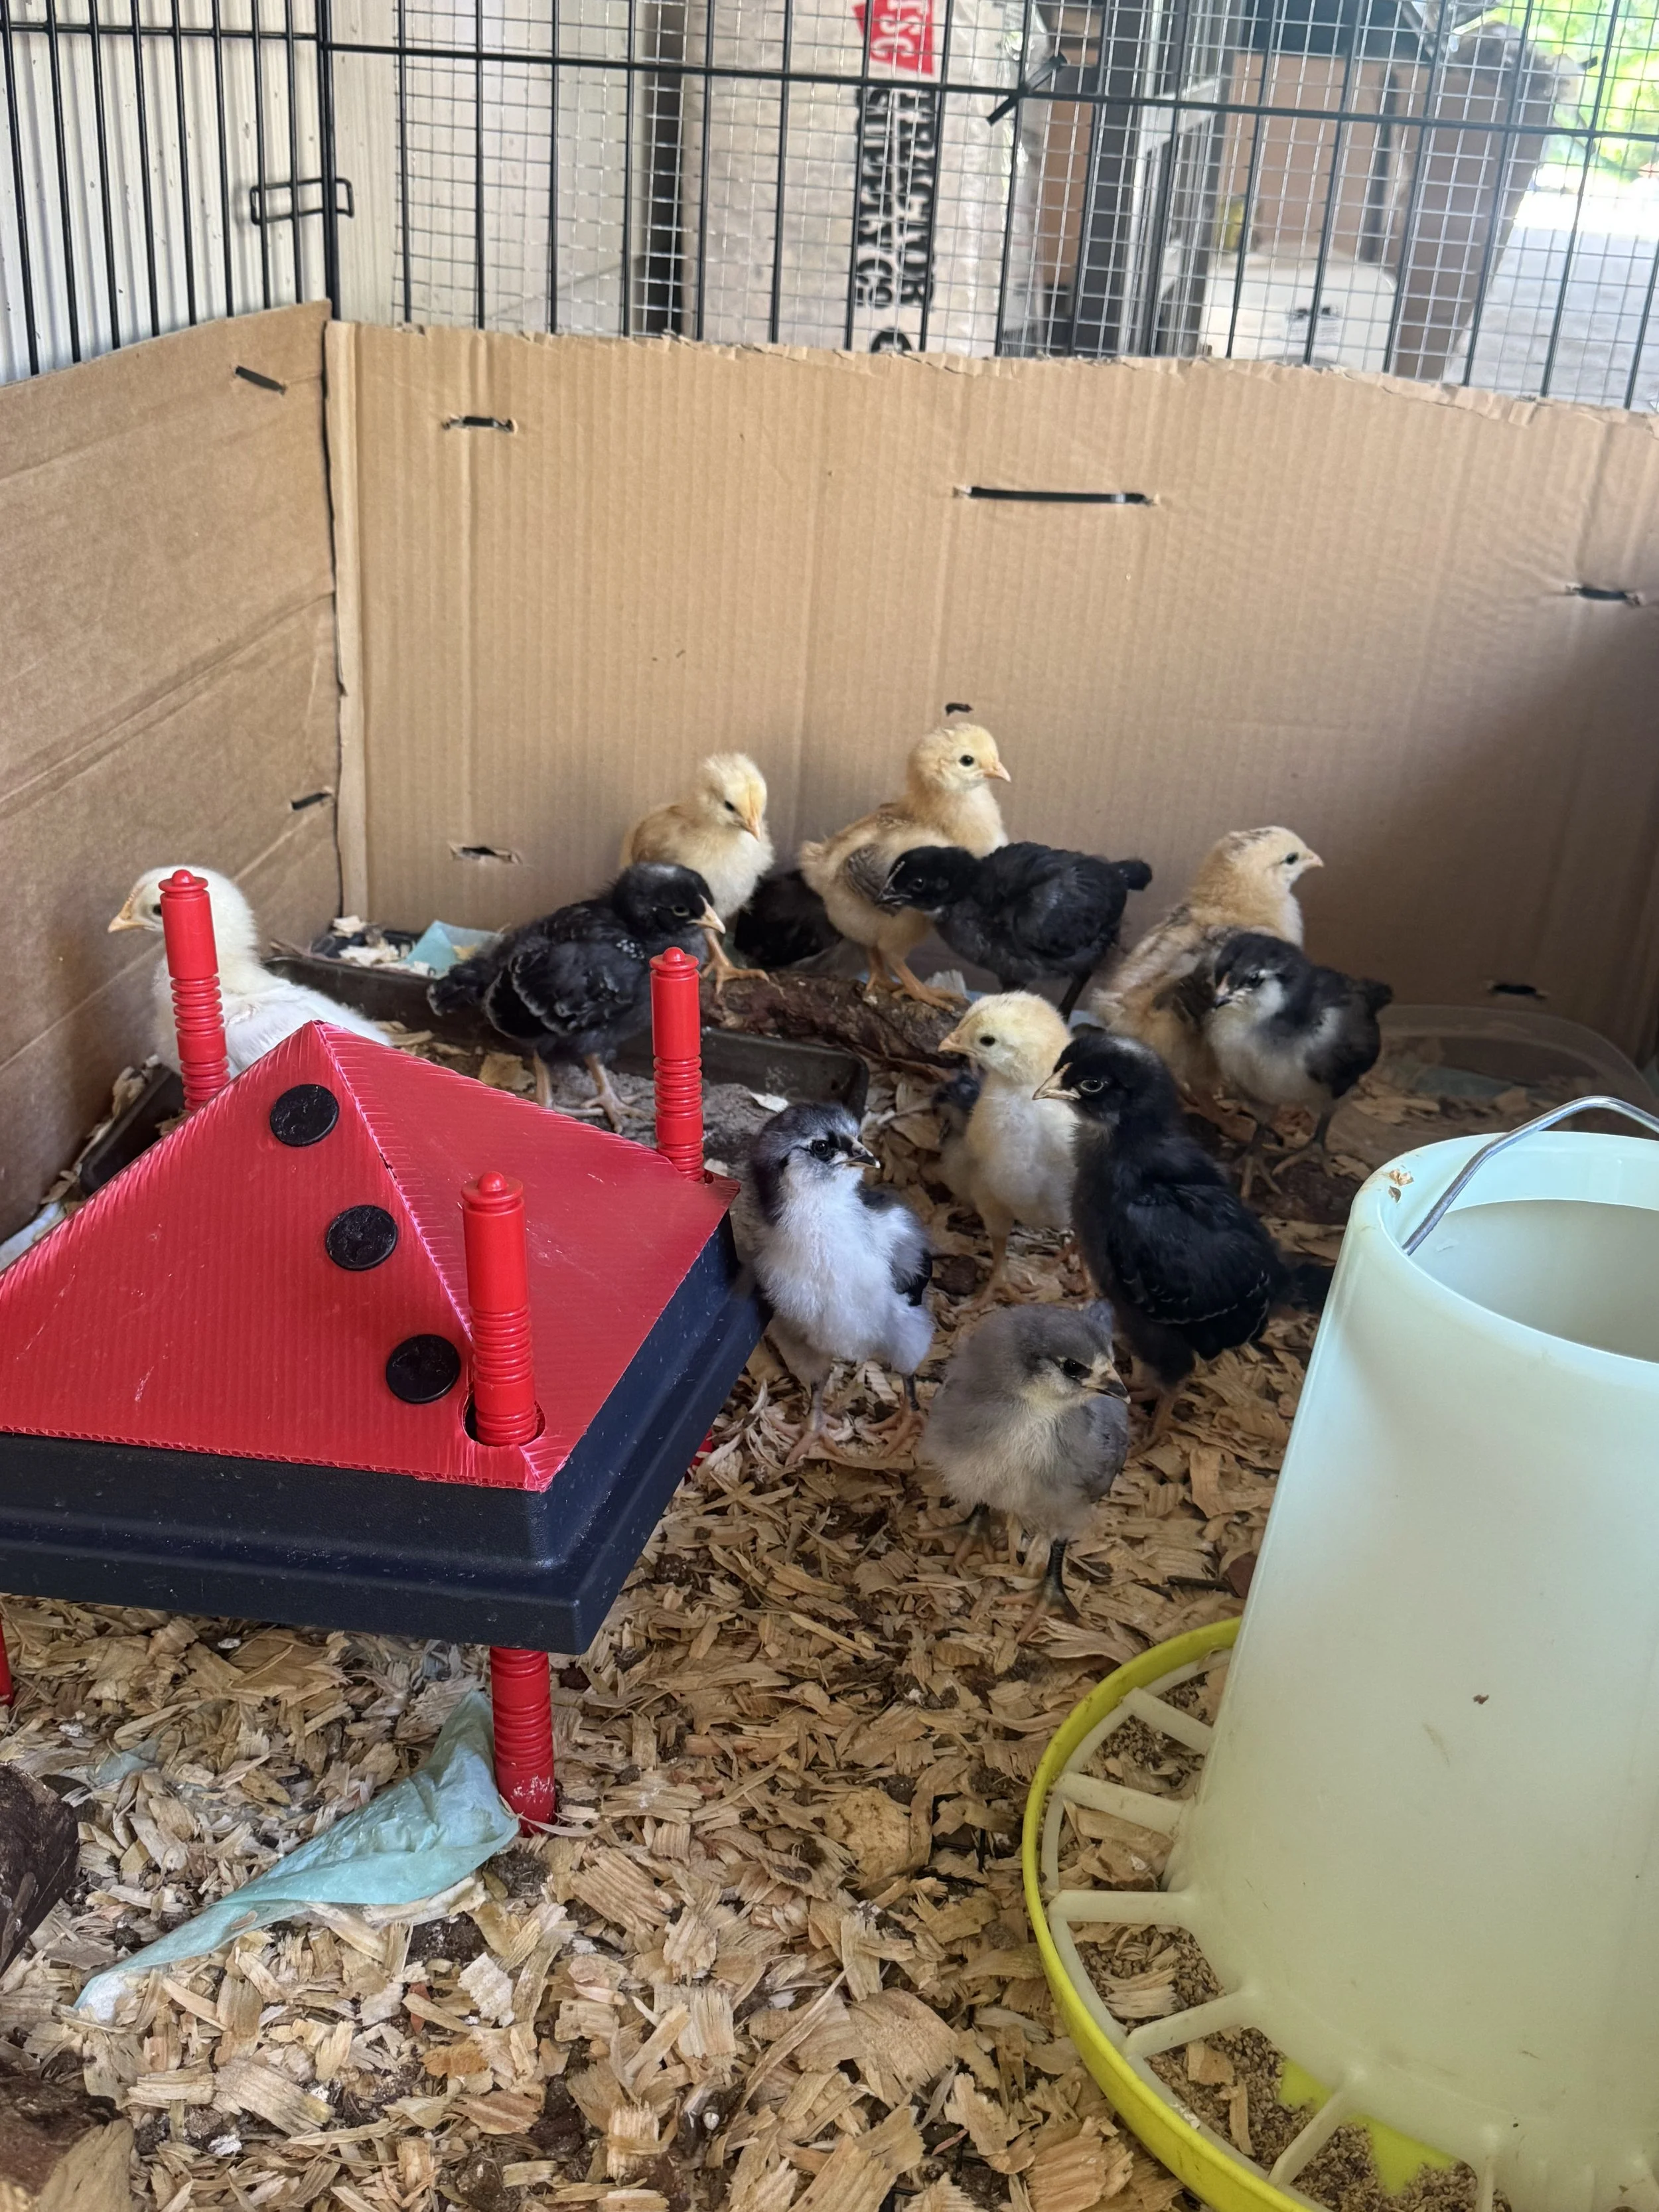
THAT’S IT. It’s so stupidly easy—and it works. We used puppy pads for the first few days/weeks for ease of cleaning. Once the birds got bigger, we added pine shavings (because they’re cheaper than hemp). This is where it was super beneficial to have left the tray in the bottom able to slide. Your brooder plate size will be based on how many chicks you have—so be sure to research that. For reference, the 12x12 is good for 20 chicks. For enrichment, we added some roosts made of natural sticks that we nailed together and made a dust bath out of a shallow dish. Use all-purpose sand, never ever ever ever play sand.